
How many times have you primed a rat trap and gingerly moved away only to have it suddenly explode, leap about 3 feet in the air and provide you with instant laxative?
Well, here's a wee tip to modify your rat-trap so you can more safely set it and run.
Parts needed:
Electric drill with 9/64" bit and a 5/8" blade
1 x 1.5", #8-32 machine screw.
4 x 5/8" washers
4 x nuts for the machine screw.
Couple of small spanners or wrenches and a screwdriver.


 On the bottom side of the trap, dig out some of the wood around the hole you just drilled using a 5/8" blade so that the trap will lie flat after inserting the machine screw. You could also dig out the wood by carefully using a sharp-bladed knife or chisel.
 Insert a 1.5" #8-32 machine screw and a 5/8" washer
 Secure the screw with another washer and a nut.
 Add another nut to the machine screw, then a split washer, an angle bracket, another washer, and finally another nut.
 When it's assembled, the last nut should cover all the threads of the machine screw. Tighten all the nuts--but not too tight: You should be able to move the angle-bracket.
 Pull back the trap's "business end" and rotate the angle-bracket as shown. The angle bracket holds the spring mechanism in place.
 Now the trap is "set" ready to go.
 The addition of a wee handle also helps to keep fingers out of the way and allows easier placement of the trap. If when placing the "set" and baited trap, it should accidentally go off, the angle bracket will hold the spring mechanism in place (it allows it to move about a quarter of an inch) so no "laxative moment."
 After the trap is baited (mine is baited with cheese and a sprinkling of cornflour), set and placed where you want it, carefully rotate the angle bracket around as shown above.
Over time, you may have to occasionally re-tighten the top two nuts .

Good (Safe) Hunting! :-)
Well, here's a wee tip to modify your rat-trap so you can more safely set it and run.
Parts needed:
Electric drill with 9/64" bit and a 5/8" blade
1 x 1.5", #8-32 machine screw.
4 x 5/8" washers
4 x nuts for the machine screw.
Couple of small spanners or wrenches and a screwdriver.
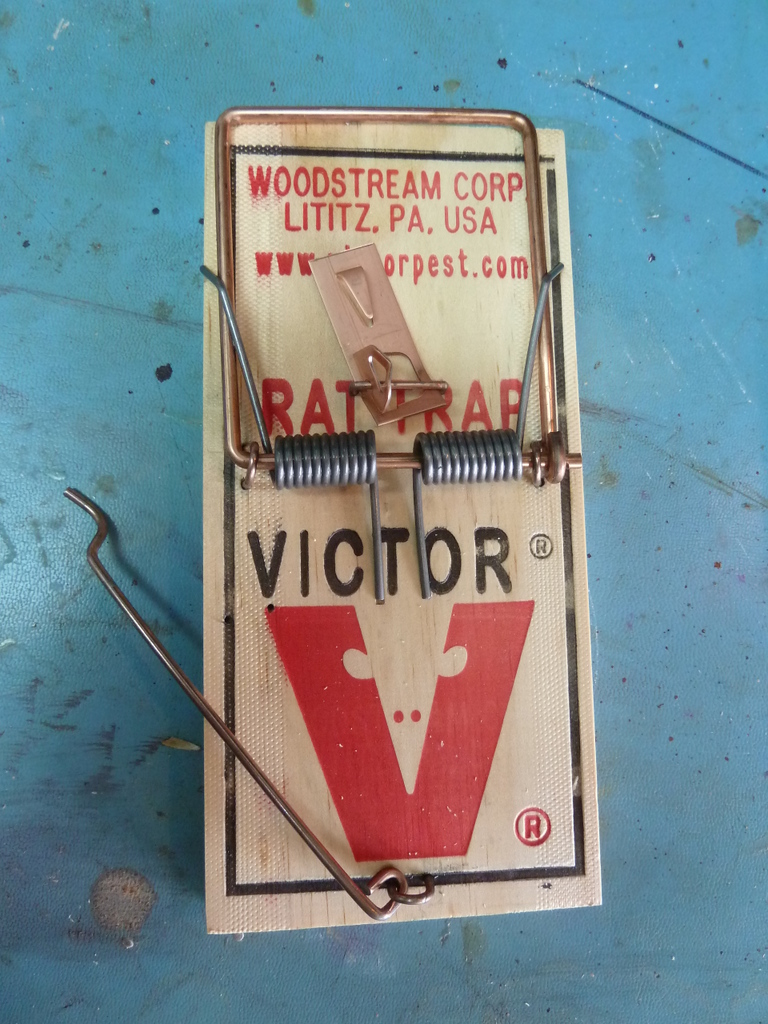
Standard rat trap

Using a bit size of 9/64" (or thereabouts! :-)) drill a hole all the way through the trap as shown.


Over time, you may have to occasionally re-tighten the top two nuts .

Good (Safe) Hunting! :-)


